
Connect Salonify Payments
Salonify Payments is the payment processor behind every card transaction in Salonify — both online bookings and the in-person card terminal. Until Salonify Payments is connected and verified, you can take cash but no card payments at all. Connecting it once unlocks online checkout, the POS card reader and Tap to Pay in a single step, and is the most important thing to do before your first paid booking.
How to set it up
- 1
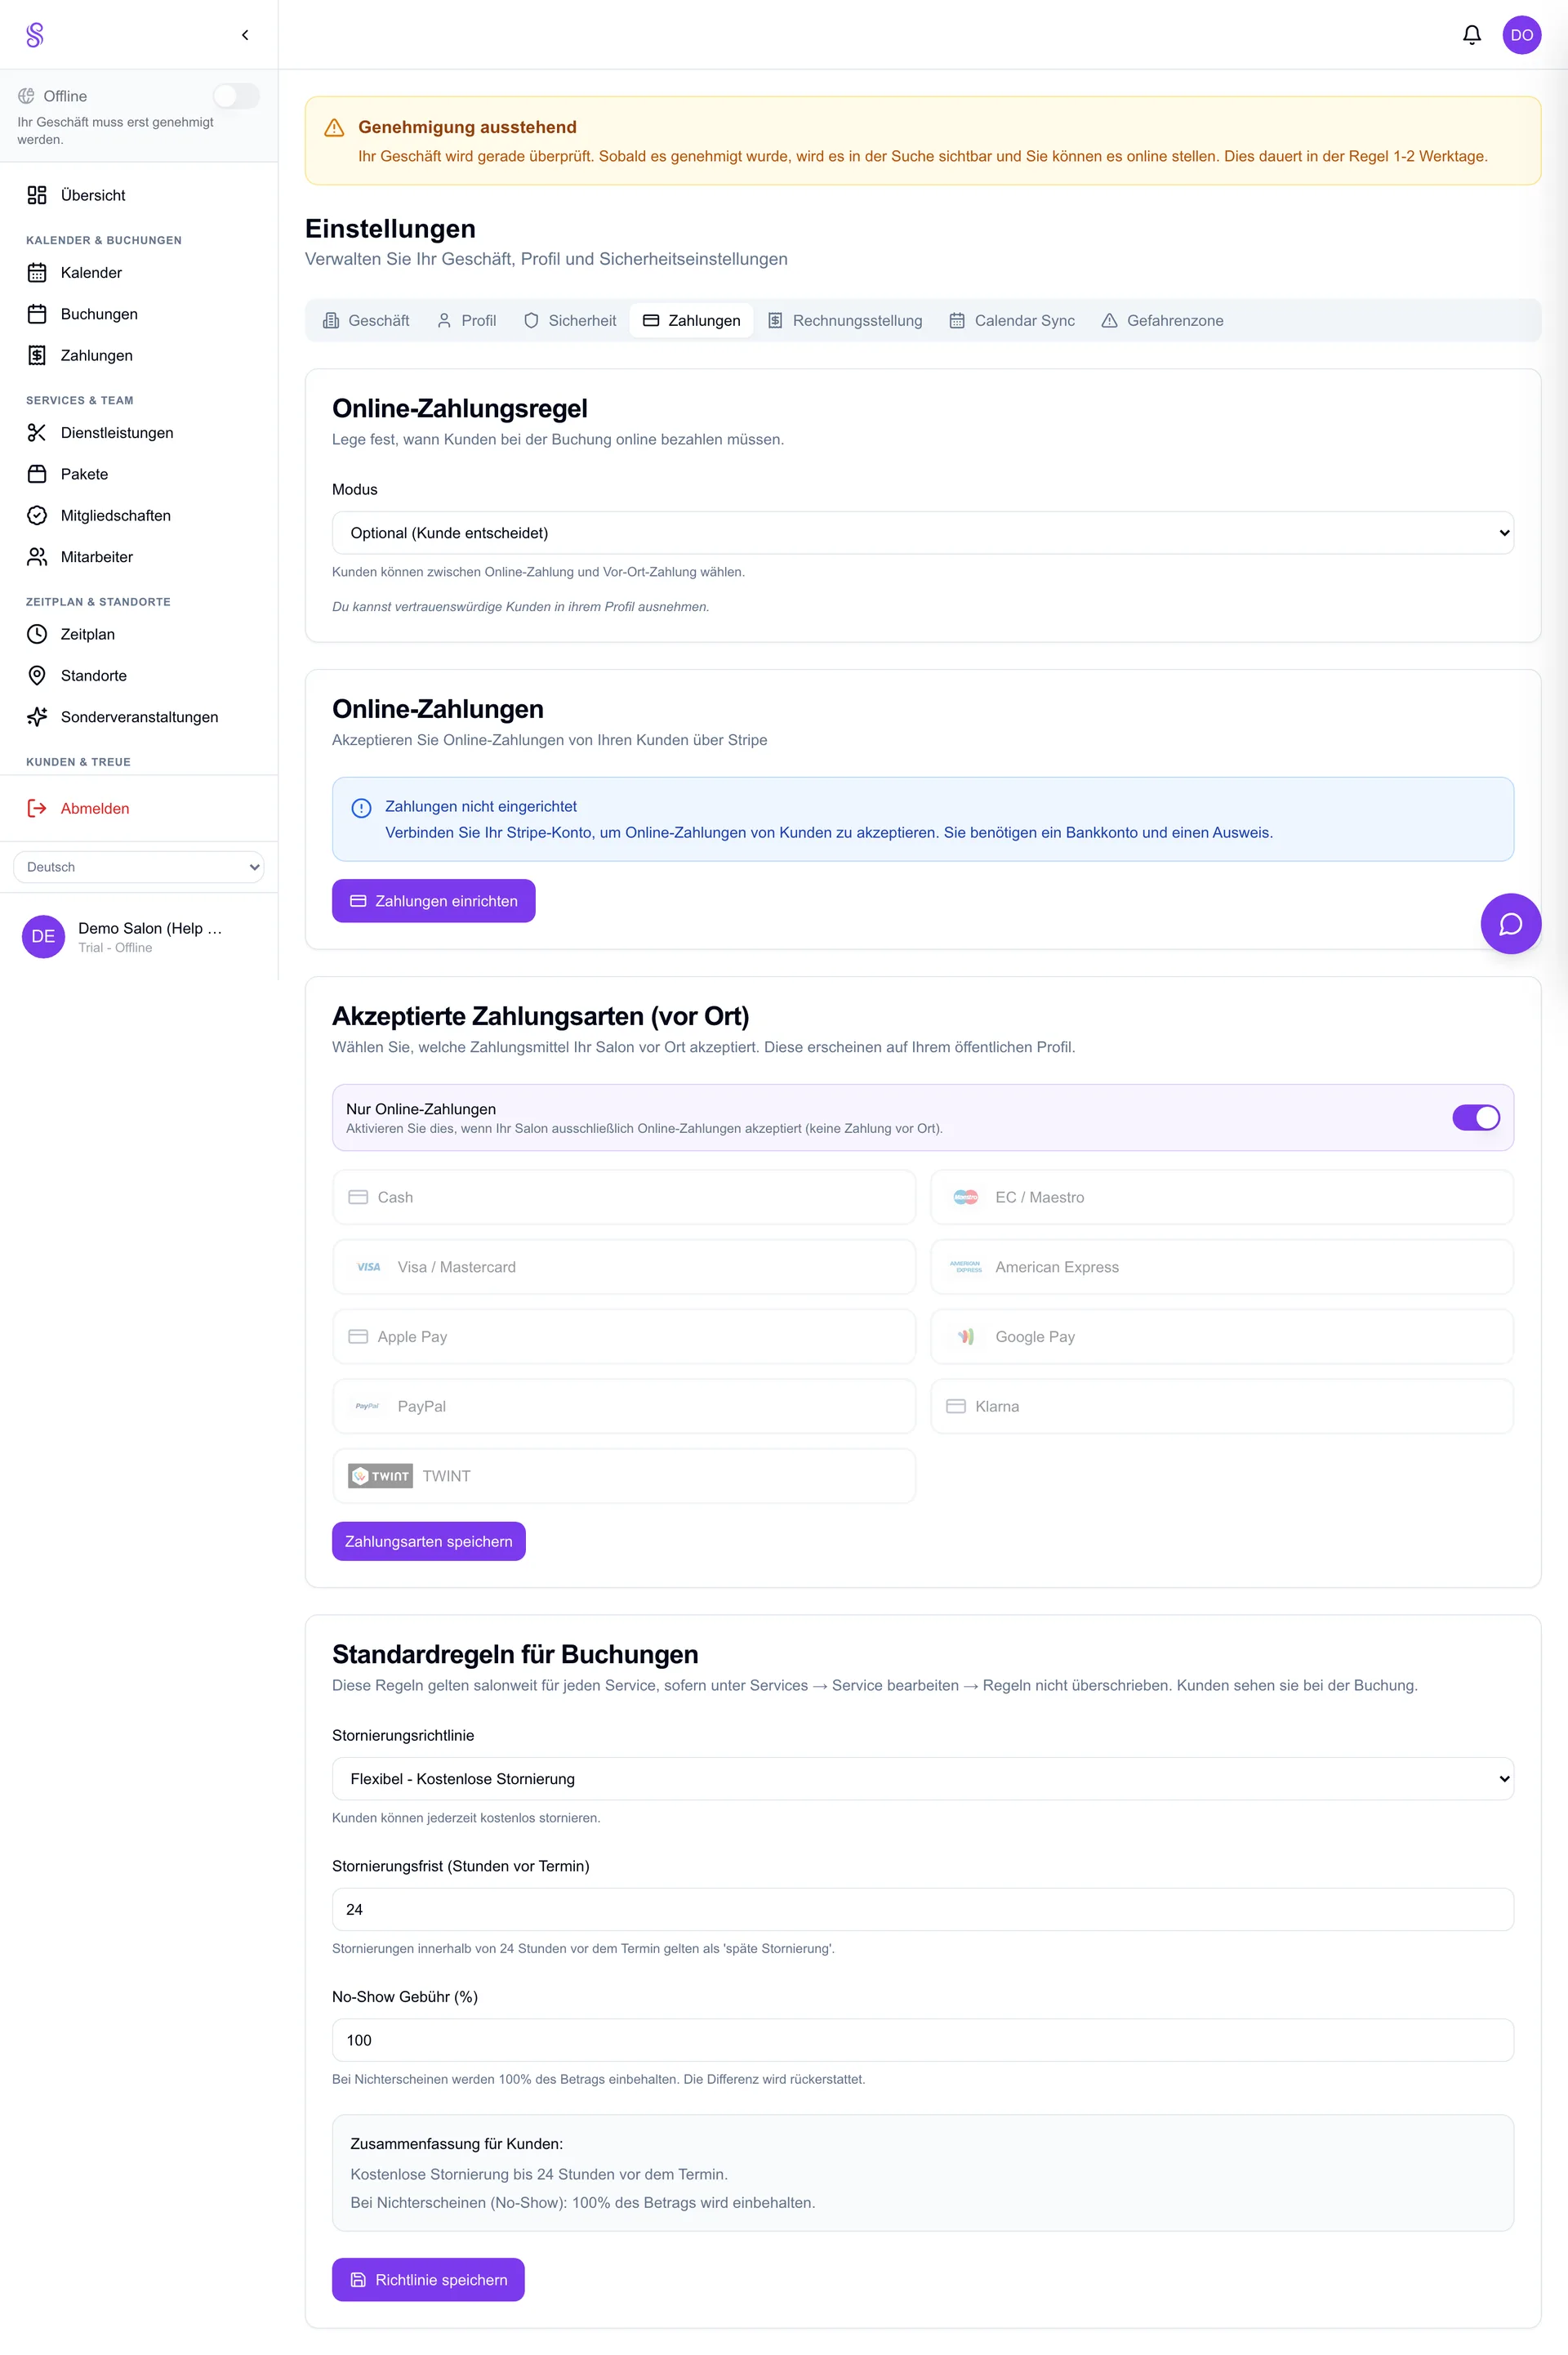
Open Settings → Payments
From the dashboard sidebar, go to Settings, then the Payments tab. This is where every money-related switch lives.
- 2
Click Connect Salonify Payments
Press the Connect Salonify Payments button. You'll be redirected to Salonify Payments's secure onboarding flow in a new window — Salonify never stores your bank credentials itself.
- 3
Verify your business details
Enter your legal business name, address, and the owner's ID document. Salonify Payments is legally required to verify (KYC) every account that receives money, so have your ID and registration number ready.
- 4
Add a bank account for payouts
Provide the IBAN that should receive your payouts. This is where Salonify Payments transfers your sales balance on its rolling schedule.
- 5
Wait for the green 'charges enabled' status
Back in Settings → Payments the status turns green once Salonify Payments reports charges and payouts are enabled. Verification is usually instant but can take up to a day if documents need review.
Good to know
- You only connect Salonify Payments once per salon — it powers both online and POS card payments.
- If the status stays orange/pending, open your Salonify Payments dashboard and complete any outstanding verification request.
- The bank account can be changed later directly in Salonify Payments without touching Salonify.